

Reusing code across sites with AEM authoring as your content source
By default, AEM is tightly bound to your code repository, which meets the majority of use cases. However you may have multiple sites that differ mostly in their content, but could leverage the same code base.
Rather than creating multiple GitHub repositories and running each site off a dedicated GitHub repository while keeping them in sync, AEM supports running multiple sites from the same codebase.
This simplified setup, which eliminates the need for code replication is also known as “repoless”, because all but your first site don’t need a GitHub repository of their own.
If your project requires the repoless flexibility of code reuse across sites, you can activate the feature.
Regardless of how many sites you want to ultimately create in a repoless fashion, you must create your first site, which serves as your base site. This document explains how to create your first site for repoless use.
Prerequisites
To take advantage of this feature, make sure you have done the following.
- Your site is already fully set up by following the document Getting Started – Universal Editor Developer Tutorial.
- You are running AEM as a Cloud Service 2025.4 at a minimum.
- Set up the configuration service by following the document Setting up the configuration service.
Activate repoless feature
There are several steps to activate repoless functionality for your project. Please substitute your own site and GitHub org information appropriately.
- Retrieve access token
- Set up configuration service
- Add site configuration and technical account
- Update AEM configuration
- Authenticate site
This document details each of these steps.
Retrieve access token
You will first need an access token to use the configuration service and configure it for the repoless use case.
- Go to
https://admin.hlx.page/loginand use thelogin_adobeaddress to login with the Adobe identity provider. - You will be forwarded to
https://admin.hlx.page/profile. - By using your browser’s developer tools, copy the value of the
auth_tokencookie that the Admin Service sets.
Once you have your access token, it can be passed in the header of cURL requests in the following format.
-H 'x-auth-token: <your-token>'
Configure your content and code sources
The configuration service needs to know where to find your code and AEM content. Execute this cURL command to create (PUT) or update (POST) a site to use your code and AEM content.
curl -X PUT https://admin.hlx.page/config/<your-github-org>/sites/<your-aem-project>.json \
  -H 'content-type: application/json' \
  -H 'x-auth-token: <your-token>' \
  --data '{
  "code": {
    "owner": "<your-github-org>",
    "repo": "<your-aem-project>",
    "source": {
      "type": "github",
      "url": "https://github.com/<your-github-org>/<your-aem-project>"
    }
  },
  "content": {
    "source": {
      "url": "https://author-p<your-programID>-e<your-environmentID>.adobeaemcloud.com/bin/franklin.delivery/<org>/<site>/main",
      "type": "markup",
      "suffix": ".html"
    }
  }
}'
Add path mapping for site configuration and set technical account
You need to create a site configuration and add it to your path mapping.
- Create a new page at the root of your site and choose the Configuration template.
- You can leave the configuration empty with only the predefined key and value columns. You only need to create it.
- Create a mapping in the public configuration to the site configuration using a cURL command similar to the following.
curl --request POST \
  --url https://admin.hlx.page/config/<your-github-org>/sites/<your-aem-project>/public.json \
  --header 'x-auth-token: <your-token>' \
  --header 'Content-Type: application/json' \
  --data '{
    "paths": {
        "mappings": [
            "/content/<your-site-content>/:/",
            "/content/<your-site-content>/configuration:/.helix/config.json"
   ],
        "includes": [
            "/content/<your-site-content>/"
        ]
    }
}'
- Validate that the public configuration has been set and is available with a cURL command similar to the following.
curl 'https://main--<your-aem-project>--<your-github-org>.aem.live/config.json'
Once the site configuration is mapped, you can configure access control by defining your technical account so it has privileges to publish.
- Sign into the AEM author instance and go to Tools → Cloud Services → Edge Delivery Services Configuration and select the configuration that was automatically created for your site and tap or click Properties in the tool bar.
- In the Edge Delivery Services Configuration window, select the Authentication tab and copy the value for the technical account ID.
- It will look similar to
<tech-account-id>@techacct.adobe.com - The technical account is the same for all sites on a single AEM author environment.
- It will look similar to
- Set the technical account for your repoless configuration with a cURL command similar to the following, using the technical account ID that you copied.
- Adapt the admin block to define the users who should have full administrative access to the site.
- It is an array of email addresses.
- The wildcard * can be used.
- See the document Configuring Authentication for Authors for more information.
- Adapt the admin block to define the users who should have full administrative access to the site.
curl --request POST \
  --url https://admin.hlx.page/config/<your-github-org>/sites/<your-aem-project>/access.json \
  --header 'Content-Type: application/json' \
  --header 'x-auth-token: <your-token>' \
  --data '{
    "admin": {
        "role": {
            "admin": [
                "<email>@<domain>.<tld>"
            ],
            "config_admin": [
                "<tech-account-id>@techacct.adobe.com"
            ]
        },
        "requireAuth": "auto"
    }
}'
Since you now use the configuration service, you can remove fstab.yaml and paths.json from your Git repository.
NOTE: By using the configuration service and exposing the path mapping via config.json, the path.json file is ignored.
Once AEM is configured for repoless use, you must use the configuration service and provide a valid config.json with the paths mapping.
Update AEM configuration
Now you are ready to make the necessary changes to your Edge Delivery Services in AEM.
- Sign into the AEM author instance and go to Tools → Cloud Services → Edge Delivery Services Configuration and select the configuration that was automatically created for your site and tap or click Properties in the tool bar.
- In the Edge Delivery Services Configuration window, change project type to aem.live with repoless config setup and tap or click Save & Close.

- Return to your site using the Universal Editor and ensure that it still renders properly.
- Modify some of your content and re-publish.
- Visit your published site at
https://main--<your-aem-project>--<your-github-org>.aem.page/and verify that the changes are properly reflected.
Your project is now set up for repoless use.
Troubleshooting
The most common issue encountered after configuring the repoless use case is that pages in the Universal Editor no longer render or you receive a white page or a generic AEM as a Cloud Service error message. In such cases:
- View the source of the rendered page.
- Is there actually something rendered (correct HTML
headwithscripts.js,aem.js, and editor-related JSON files)?
- Is there actually something rendered (correct HTML
- Check the AEM
error.logof the author instance for exceptions.- The most common issue is the page component fails with 404 errors.
config.jsonorpaths.jsoncan not be loadedcomponent-definition.jsonetc. can not be loaded
Repoless use cases
Now that your base site is configured for repoless usage, you can create additional sites that leverage the same code base.
Multi site management with AEM authoring as your content source
Create sites for multiple languages and markets from the same source documents
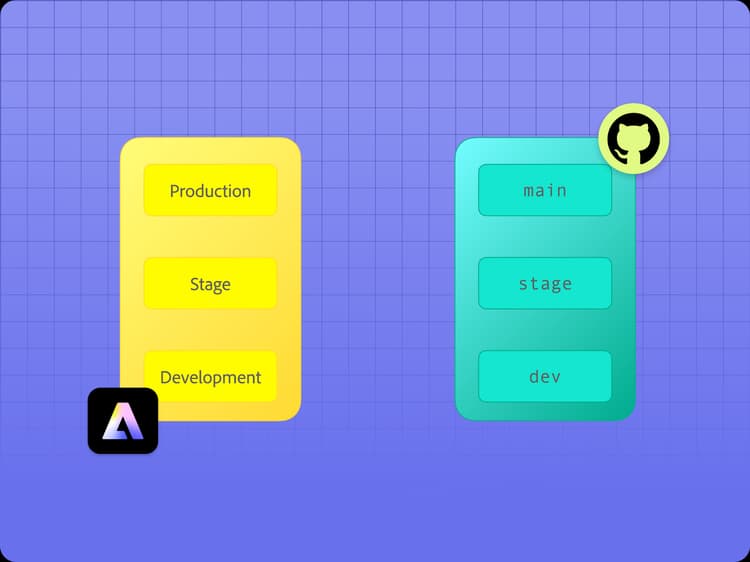
Repoless stage and prod environments with AEM authoring as your content source
Use repoless to manage multiple environments

Configuring site authentication for AEM authoring as your content source
When you author using AEM Sites and Universal Editor, you also must enable it in your AEM environment.